
Your creative shortcut to learning how to stencil like a pro. Guides, tips, tricks, tutorials, and inspiration — all in one place.

Stencil Essentials
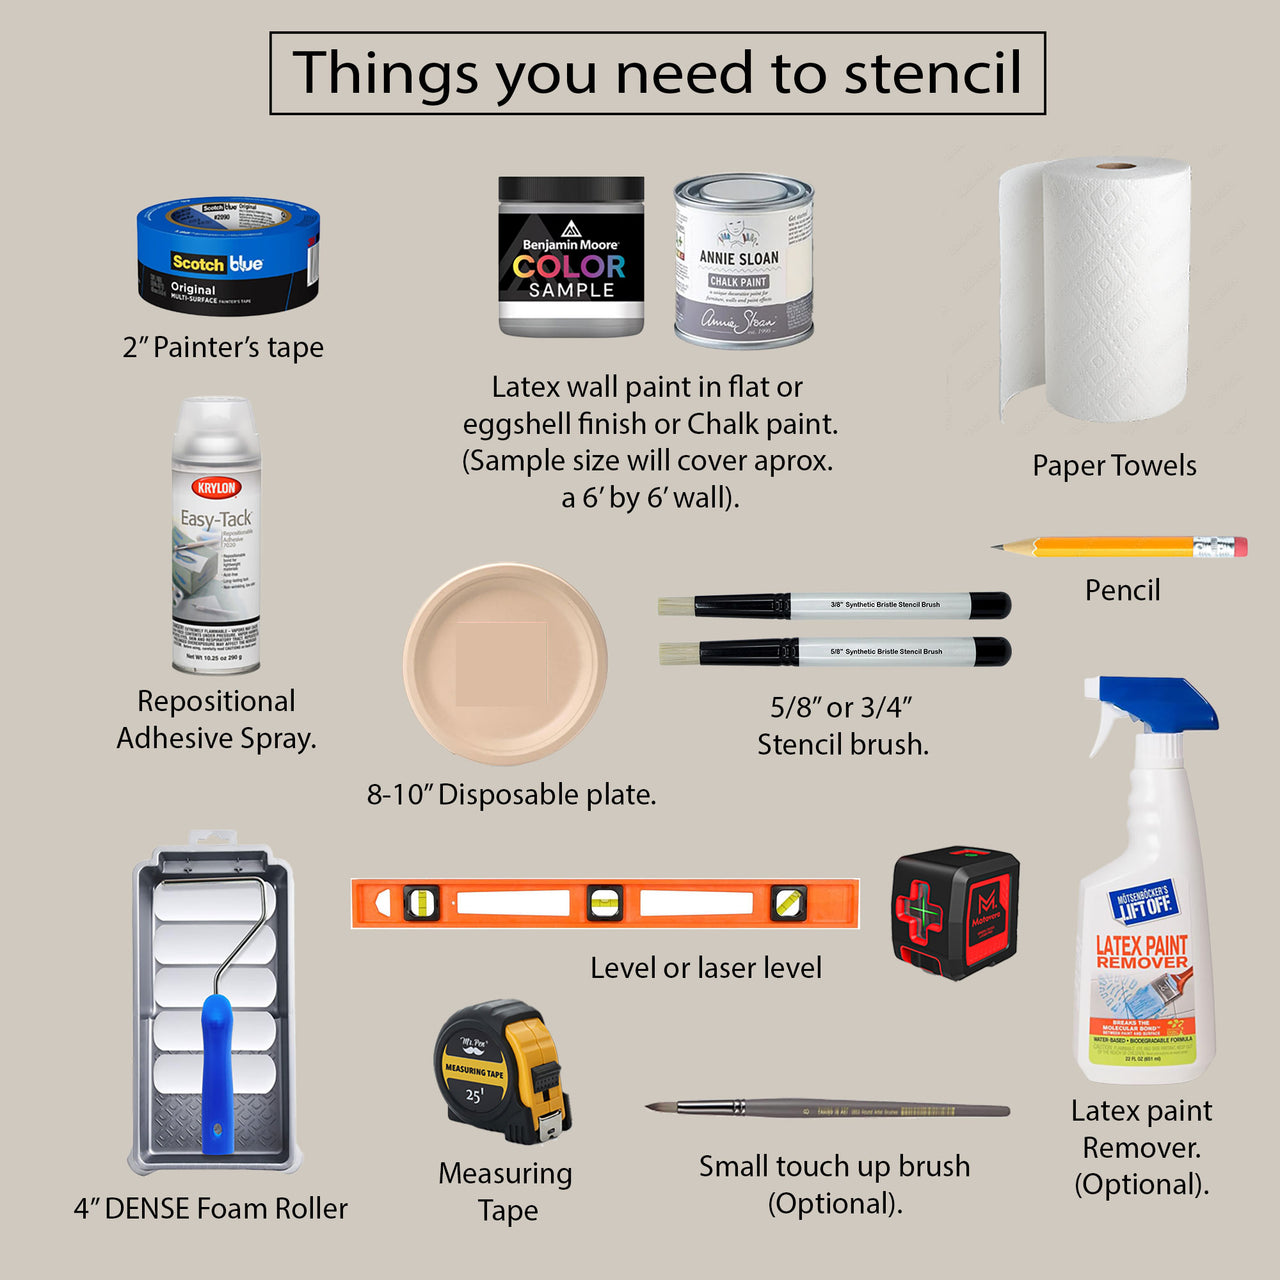
Stenciling is simple, but having the right tools makes all the difference. With just a few basic supplies, you can create crisp lines, clean patterns, and professional results on any wall or furniture project. Most items are inexpensive and easy to find at any home improvement store, and each one plays a small but important role in getting a smooth, even finish.
Latex wall paint (sample-size is perfect for most projects)
Chalk paint (optional for furniture or specialty finishes)
4" dense foam roller
5/8" or 3/4" stencil brush
Painter's tape (2")
Repositionable adhesive spray
Paper towels
8–10" disposable plate for off-loading paint
Level or laser level
Measuring tape
Pencil for alignment marks
Small touch-up brush (optional)
Latex paint remover (optional for cleaning stencils)





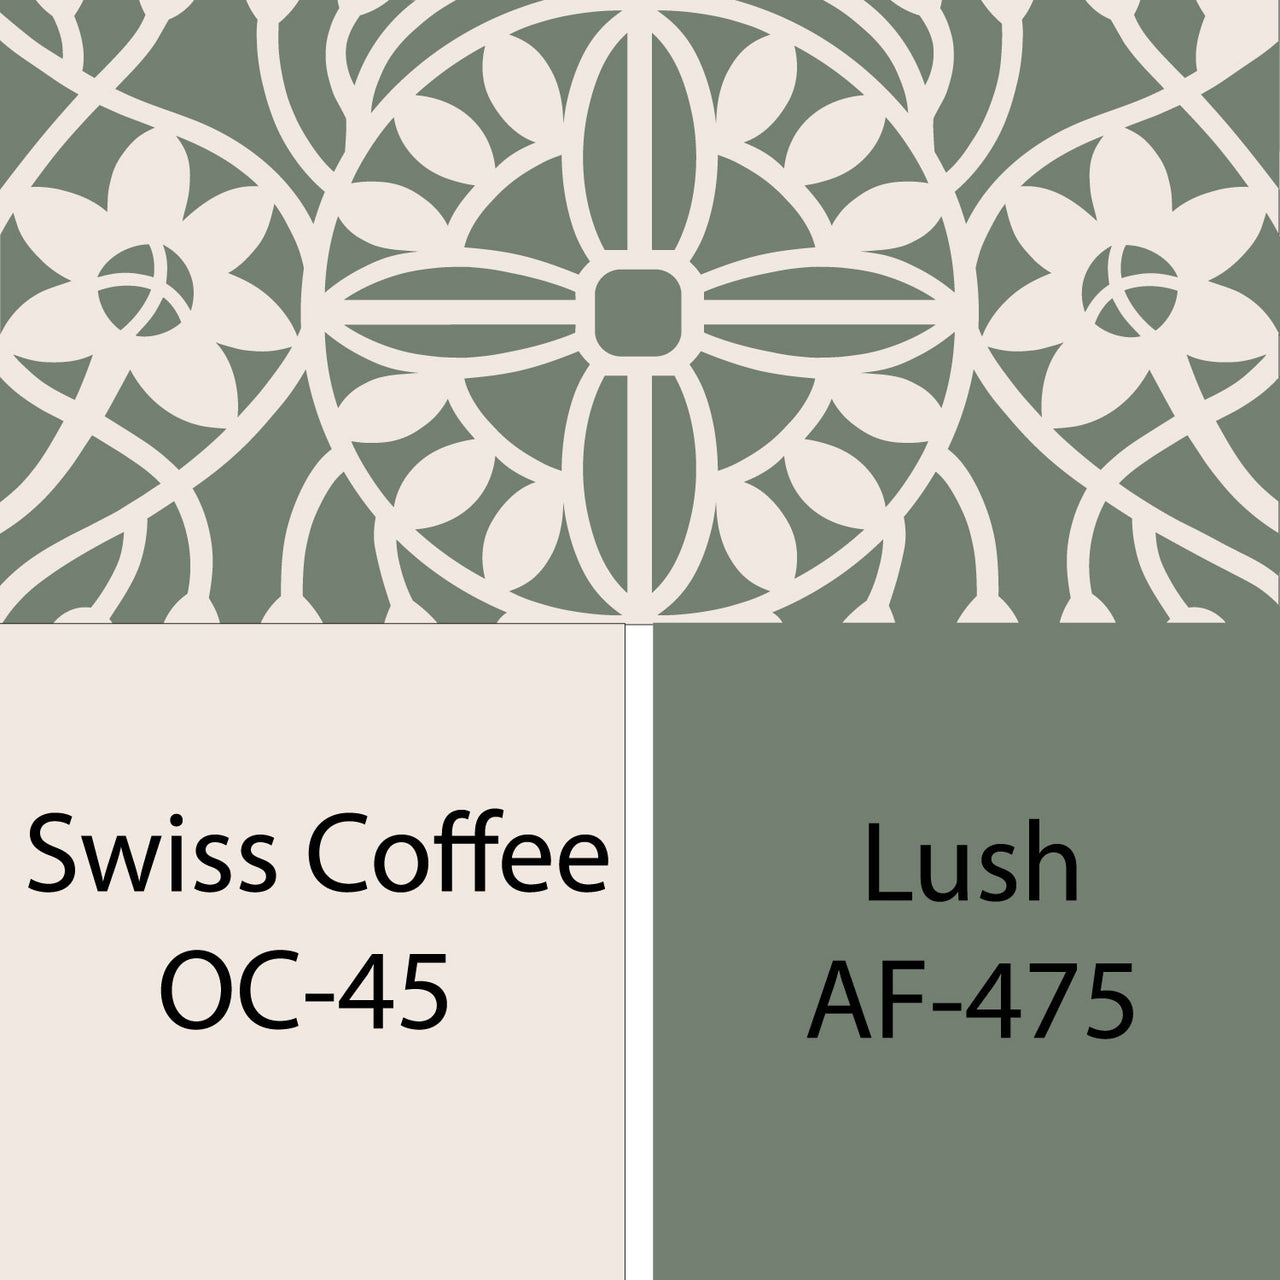
Benjamin Moore 2026 Colors Of The Year
Step-By-Step Guide
How To Stencil
Follow these eight simple steps to transform any surface into a beautifully patterned statement.
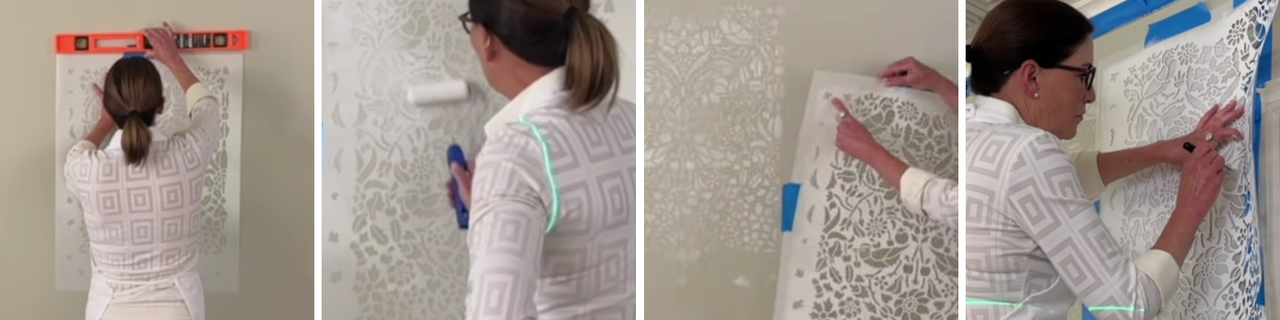
1
Prep the wall
Choose a smooth surface and wipe it clean.
2
Paint if desired
Prime when needed and let the base coat fully dry.
3
Protect the area
Tape edges, cover the floor, and remove outlet or switch plates.
4
Position the stencil
Use light adhesive on the back, a level for guidance, and tape on all four sides.
5
Apply paint
Load your roller, off-load until almost dry, and use multiple light coats.
6
Move the stencil
Align the registration marks and continue the pattern.
7
Corners
Bend the stencil gently, use a stencil brush, and touch up if needed.
8
Multiple walls
Shift the tape to the newly stenciled wall, align in the corner, and continue the design.
WATCH & LEARN
How To Stencil
Grab your stencil and follow along as Black Sheep Stencil's Diana walks you through the entire process, from taping down your stencil to that satisfying first reveal.

Got Questions?
Wall Stenciling FAQ: Common Mistakes + Quick Fixes
The answers to the questions we hear most from fellow DIY stencilers — so your next project comes out crisp and clean.
You're using too much paint. Off-load your roller until it's almost dry before applying.
Secure it with painter's tape or a light mist of adhesive spray to keep it firmly in place.
The base coat isn't fully dry. Wait at least 24 hours before stenciling over fresh paint.
Use a level or laser guide for every repeat to maintain alignment.
You're overloading the brush. Use a small stencil brush and dab lightly.
Paint buildup is the culprit. Wipe the stencil clean every few repeats.
Yes, but it's harder. Use extra adhesive and lighter paint loads for cleaner lines.
You're skipping registration marks. Align each repeat carefully using the guide marks.
Let the paint dry completely, then touch up with a small brush — never fix while wet.
Flat or eggshell. Glossy finishes smear and slip under the stencil.
Yes. A quick test on cardboard or a hidden spot prevents surprises on your wall.